This section covers adding a 1200 watt Samlex Inverter/Charger. The inverter/charger works this way: when you are running on your house battery, the inverter part of the inverter/charger will power 120 VAC appliances in the van. When you are on shore power, the charger part of the inverter/charger will charge the house battery from the shore power. So, it basically combines and inverter and a shore power charger into a single unit.
Combining the inverter and charger in a single unit makes things a little simpler and the unit automatically handles the transfer from inverter to shore power and vice versa.
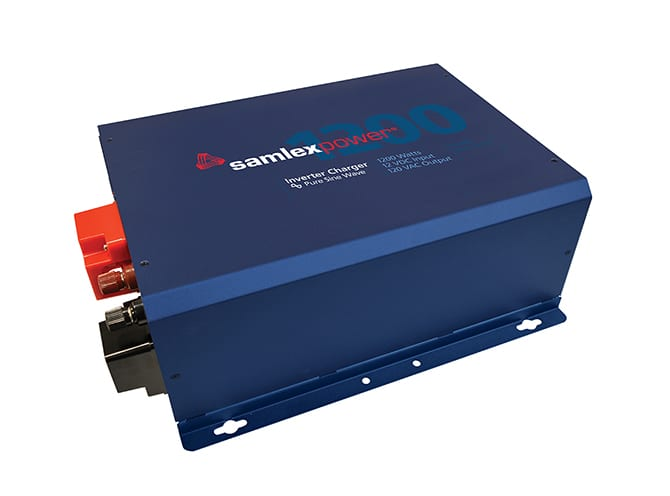
The Samlex is Inverter/Charger is a high quality unit that is built like a tank – it weighs 39 lbs and is used in a lot of commercial applications. I did some testing on it including tests at high loads, running sensitive devices (microwave) and running it at low voltages – it did fine on all of these. The only negative is that the cooling fan is a bit loud when on.
One thing to be aware of with this Samlex is that the optional remote control is pretty much a necessity. The remote is the only way to make all of the settings (battery type, …).
There are other inverter/charger choices out there from Victron, Renogy, … in case the Samlex does not appeal.
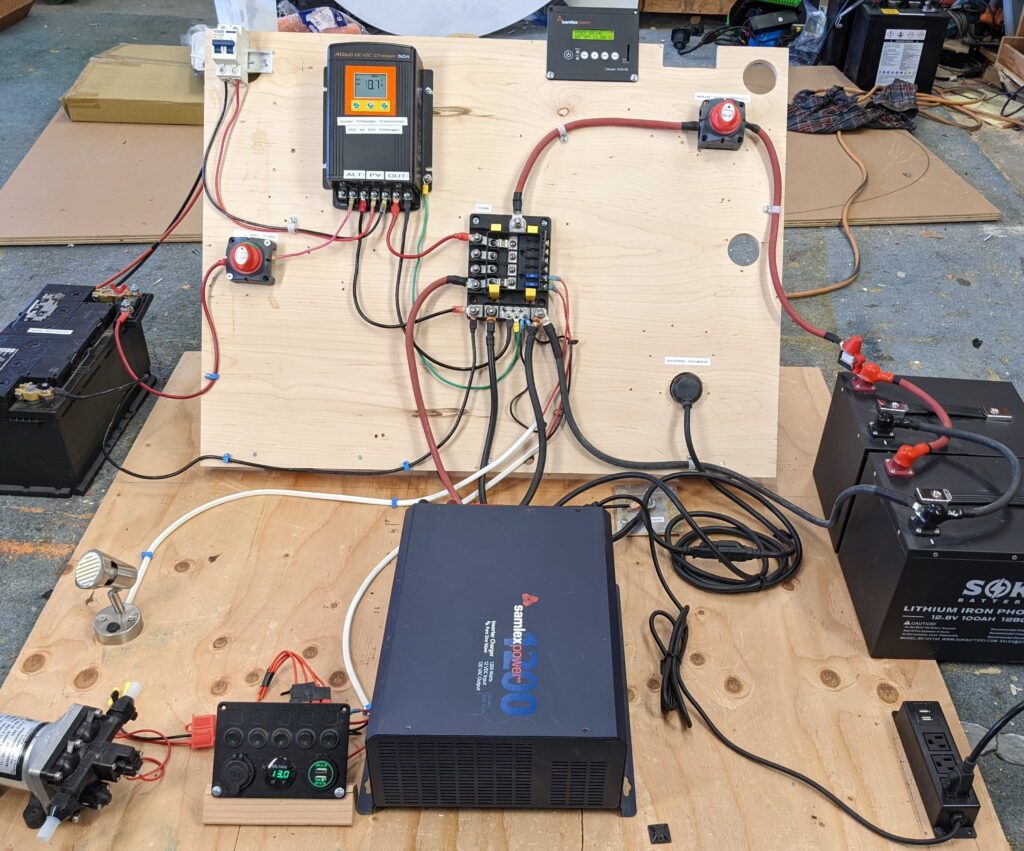
Wiring diagram
Take some care in locating the inverter/charger. It requires some ventilation space – see the manual. The heavy cables from the unit to the hub should be kept as short as feasible to reduce voltage drop. The unit is heavy, so it will require good mounting to stay in place in case of a crash.
The inverter/charger has been added to the wiring diagram below. Only three new wires to hook up.

Wiring
DC Wiring
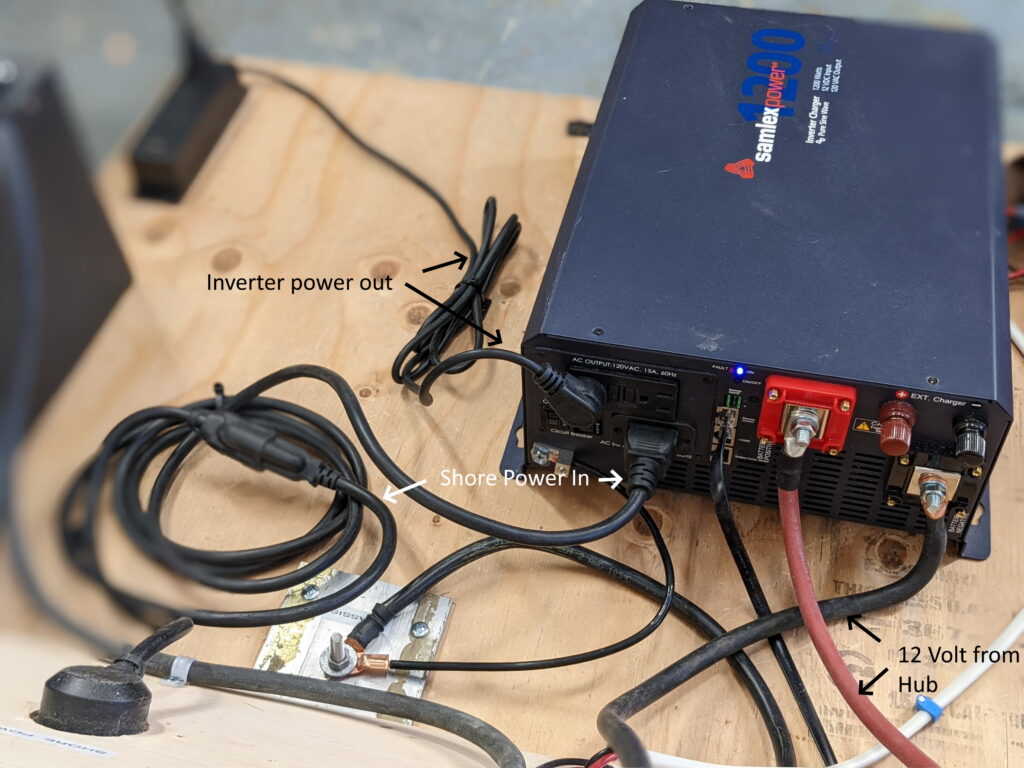
Connect an AWG #2 cable from the positive (red) terminal on the inverter/charger to one of the four high amperage terminals on the Hub. Both ends of this cable have 5/16th inch (M8) lugs. Use a 200 amp AMI fuse on this terminal. Be sure to carry a spare fuse. If you have a torque wrench, the torque is 180 in-lb.
Connect an AWG #2 cable from the negative (black) inverter/charger terminal to one of the large negative terminals on the Hub. Both ends of this cable use 5/16th lugs.
Try to keep these supply/return lines as short as possible to minimize voltage drop on these high amperage runs.
Connect a wire from the grounding terminal on the inverter/charger to either a negative return terminal on the Hub or to a prepared chassis ground – use #6 or lager wire.
AC Wiring
There really is no AC “wiring” – just plugging things in.
Using this adapter cord, connect the shore power outlet to the matching socket on the back of the inverter/charger – this provides shore power to the inverter/charger.
Plug a plug strip into one of the regular house power outlets on the back of the inverter. Locate the plug socket where you want your 120 VAC outlet in the van.
That’s all there is to it. The inverter/charger will automatically sense whether you are on shore power or inverter power and send juice to the power strip either way. It also automatically bonds the AC neutral to its ground when on inverter power as required for safety.
My first electrical system on this van had a full AC distribution panel, AC circuit breakers, and outlets all over the van. This proved to be a total waste of time, energy and money. We only ever used one outlet by the galley -never used the rest. I just love how this is ready to just use with zero wiring effort.
The 120 VAC power outlets on the inverter/charger are protected with ground fault breakers, so no further protection is required – just plug stuff in.
If you see any errors or misleading material on this page, or if additional information should be added, please let me know in the comments.
Gary 7/21/22
Hi Heather,
You can run a roof top AC on the shore power connection as I show it with just the simple pass through.
Use an extension cord to connect the campground 15 amp shore power outlet to the camper van shore power inlet. Use a #12 wire extension cord. These are just regular 120 AC house plugs and sockets.
Inside the camper van, just plug the Air conditioner into the power strip.
If the Air conditioner does not have a regular plug on it, you will have to add one.
This gives you up to 15 amps (about 1800 watts) to run the air conditioner. Most of them will run and start on this OK, but its good to pick a roof top AC that uses well under the 1800 watts as startup currents are high and a high wattage unit might trip the 15 amp breaker on startup.
With this arrangement, you will not be able to run the air conditioner and other high power AC devices at the same time – eg no microwave and AC at the same time.
You don’t need a circuit breaker inside the van for this setup, as the campground power pedestal already has a 15 amp breaker in it.
If you want more AC power in the van, you can use the campground power pedestal 30 amp outlet. This would give you enough power to run an air conditioner plus other large AC loads. But, it gets more complicated. You would need a heavy cable to go from the 30 amp outlet on the campground power pedestal like this one: https://www.amazon.com/Camco-Extension-PowerGrip-Handles-55191/dp/B000BUU5YU/ref=sr_1_2?crid=21DATGJ9TLJMQ&keywords=30+amp+rv+extension+cord&qid=1695739502&sprefix=30+amp+rv%2Caps%2C157&sr=8-2
A 30 amp socket on the outside of the van like this one: https://www.amazon.com/ABN-Power-Inlet-Socket-Electric/dp/B073622GFZ/ref=sr_1_2?crid=3D8OS1ZMF0PB0&keywords=30+amp+rv+socket&qid=1695739658&sprefix=30+amp+rv+socket%2Caps%2C177&sr=8-2
And a power distribution box inside the camper van that had one breaker for your air conditioner and at least one more for other AC circuits in the van.
This link has more info on going the 30 amp route: https://electricproblems.com/how-to-wire-a-30-amp-rv-plug/
Hope that helps!
Gary
Thank Gary for all this great information. My question is what would be the easiest way to hook up a roof top air conditioner if I only want to run it on shore power. I currently have a portable power station in my van so I don’t know that I need an inverter/charger. Is it possible to just plug the AC directly to the shore power via a shore power pass through like the noco but one rated for 20 amps? Or is that asking for trouble? Im sure there probably needs to be a breaker or something to protect it between the AC and the power from the campground. Thanks.