Most people will want curtains or shades of some kind for their RV or camper van.
The curtains:
- Provide privacy
- Block out unwanted light for sleeping
- Provide some insulation for cold (or hot) days or nights.
This page goes over a few options for DIY and commercial curtains. If you are aware of any other good ones, please let me know via the Comments section.
Shades and Curtains
Eurocampers Commercial Cab Shades
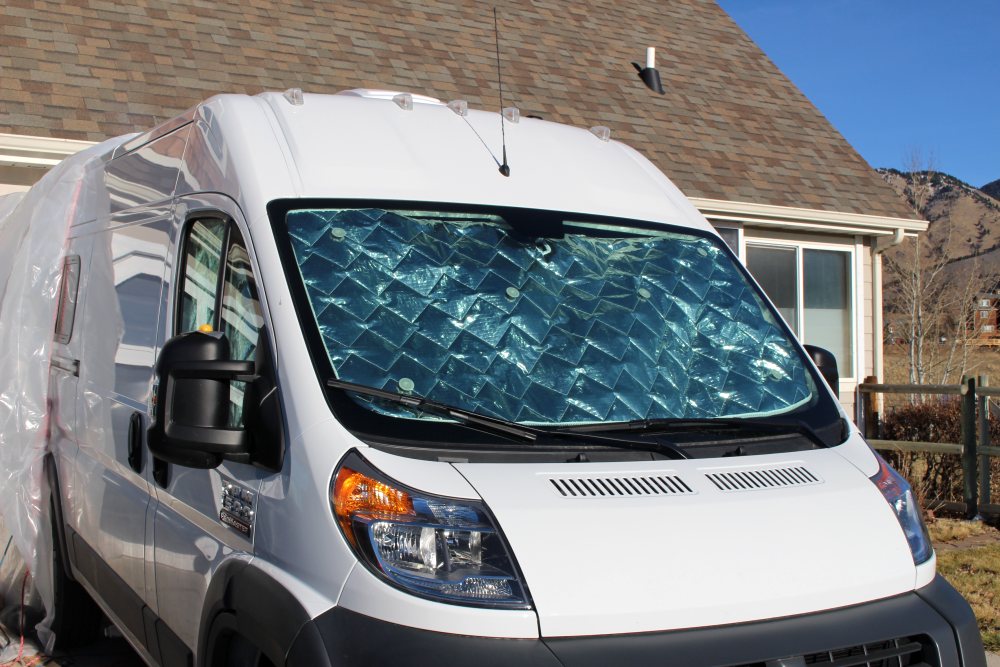
For our own ProMaster conversion, we used a commercial product from Eurocampers .
The panels are made from an “advanced 7 layer insulating material” that has a reflective finish facing out and a grey color facing in. They are held in place with with a few suction cubs per panel.
We rather like this product. The material appears to be durable and looks like it will last. The panels are cut accurately and are bound around all the edges. The suction cups (which seemed a little Mickey Mouse) actually work well — they are fast to put in place and fast to remove, and they will hold for many days. At $80, they are not cheap, but for us, they seem worth the money.
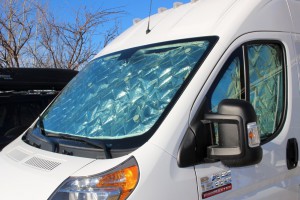
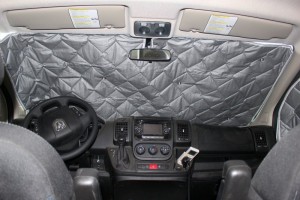
These shades fit well, go up easily (with suction cups), and provide good insulation for cold and hot days.
More details on using and installing these from our conversion…
DIY Reflectix+ Cab Shades
This is a good description of some very nicely done DIY shades made from Reflectix from the Roadtrek Life blog.
The shades are two layers with one layer of Reflectix and a 2nd layer of ironing board cover — so they should provide very good insulation. They are held in place with neo magnets.
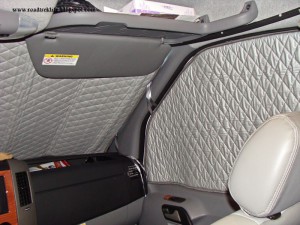
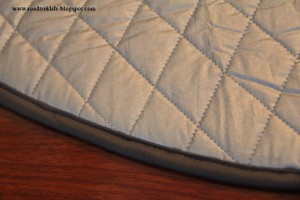
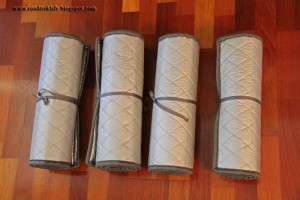
Its possible that the bare aluminum of the Reflectix would have been a better overall insulator than the ironing board cloth, but the cloth certainly looks a whole lot better.
Good detailed instructions are provided at the link above.
Shades Across Back of Cab
Some people set up their shades across the back of the cab using a track that goes across the back of the cab ceiling that the shades slide on. This certainly works, and if you don’t plan to use the cab area at night, it should work fine.
DIY Reflectix Shades for the Living Or Cab Area
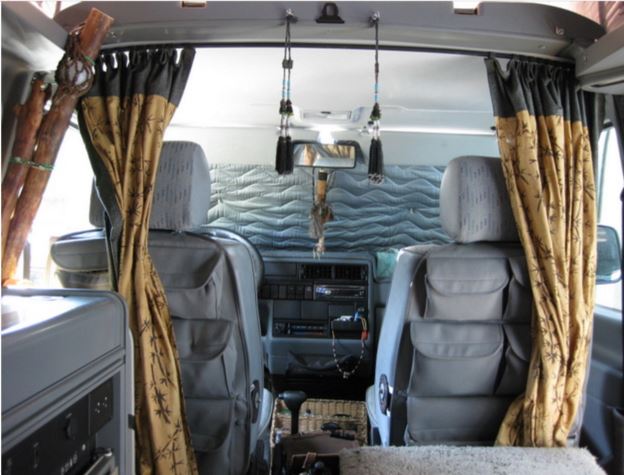
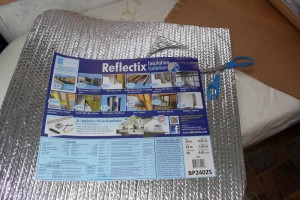
We used thermal curtains made from Reflectix panels cut to the size of the window. Reflectix is a bubble wrap like material that has aluminum finishes on both sides. It does not have a lot of conductive insulation value due to if low thickness, but if the aluminium foil faces an airspace on either side, it is effective on radiative heat transfer and has an effective R value up toward 3 depending on the exact situation.
The Reflectix has a bit of stiffness to it, and it you cut it carefully for a window opening, it will stay in the opening just from friction — or it can be held in place with Velcro tabs or small magnets. It is quick to put up and take down and it does not take up much storage space. I did a thermal test on our RV windows with Reflectix and it did quite well — and about 3 times reduction in window heat loss.
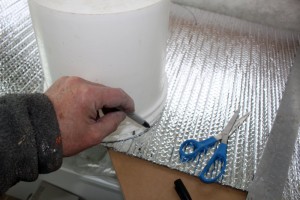
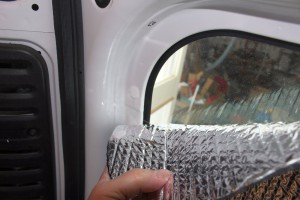
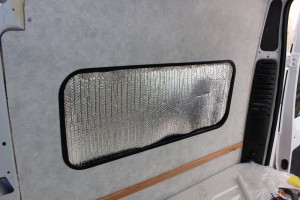
The pictures just above are from out conversion — details here…
Curtains on Tracks
There are a variety of more conventional curtains that slide along on tracks available as DIY or commercial products.
Some examples:
Camping World curtain supplies…
Search Pintrest for RV or Camper Van curtains.
Curtain-Tracks has a lot of examples…
Search Amazon for RV Curtains.
Some use a track both above and below the window — especially if the wall curves in at the point of the window. This keeps the curtain flatter against the wall and keeps it from moving around so much as you drive.
How Much Insulation Do Curtains Provide?
I did a test of the both the Eurcamper shades and the Reflectix shades that we use in our van to see how well they insulate.
All the details on the thermal test are here, but the bottom line is that they cut the heat loss through single glazed windows by about a factor of 3. This can significantly reduce the load on your furnace (or AC) and extend the amount of time you can go between refilling the propane (or other fuel) tank.

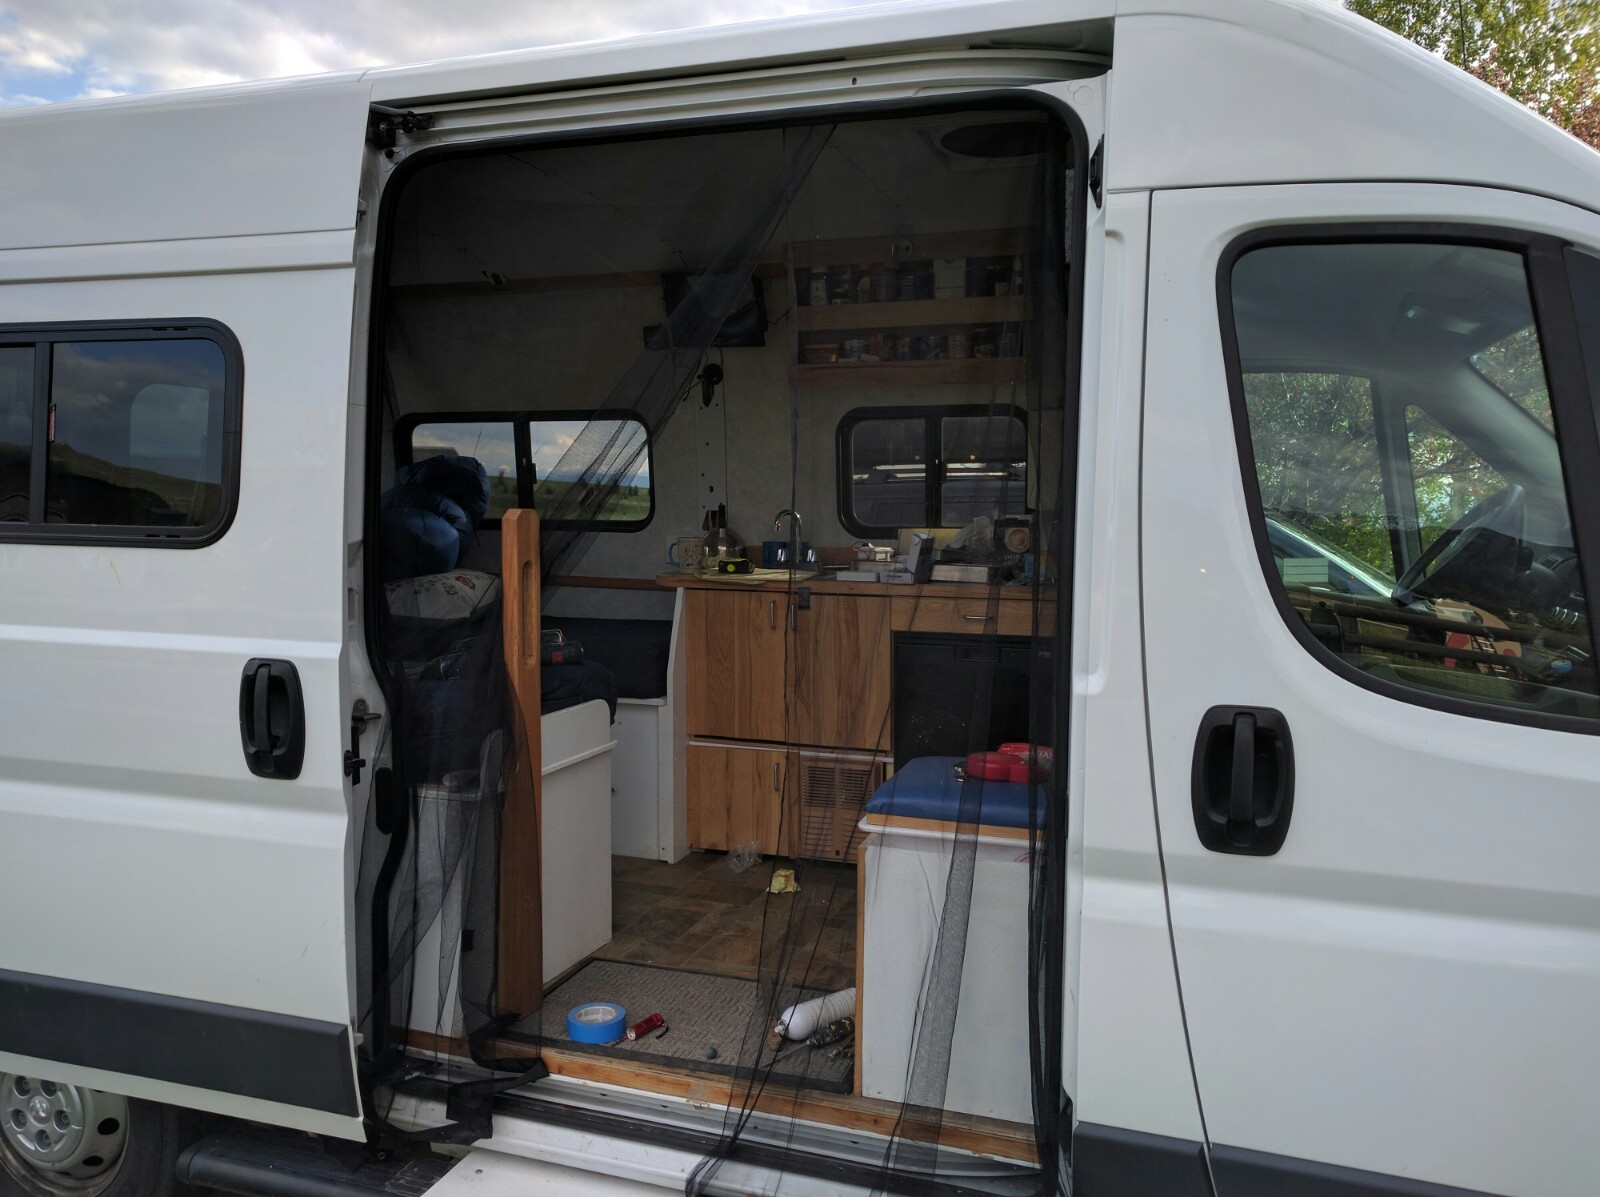
Bug Screens
We are headed off for the Yukon soon, so seems like some kind of bug screen for the sliding door is in order.

The very simple scheme we came up with will not satisfy everyone’s needs, but its so simple, cheap, and easy that I thought I would pass it on.
Its based on this screen that is made for screening a single garage door.
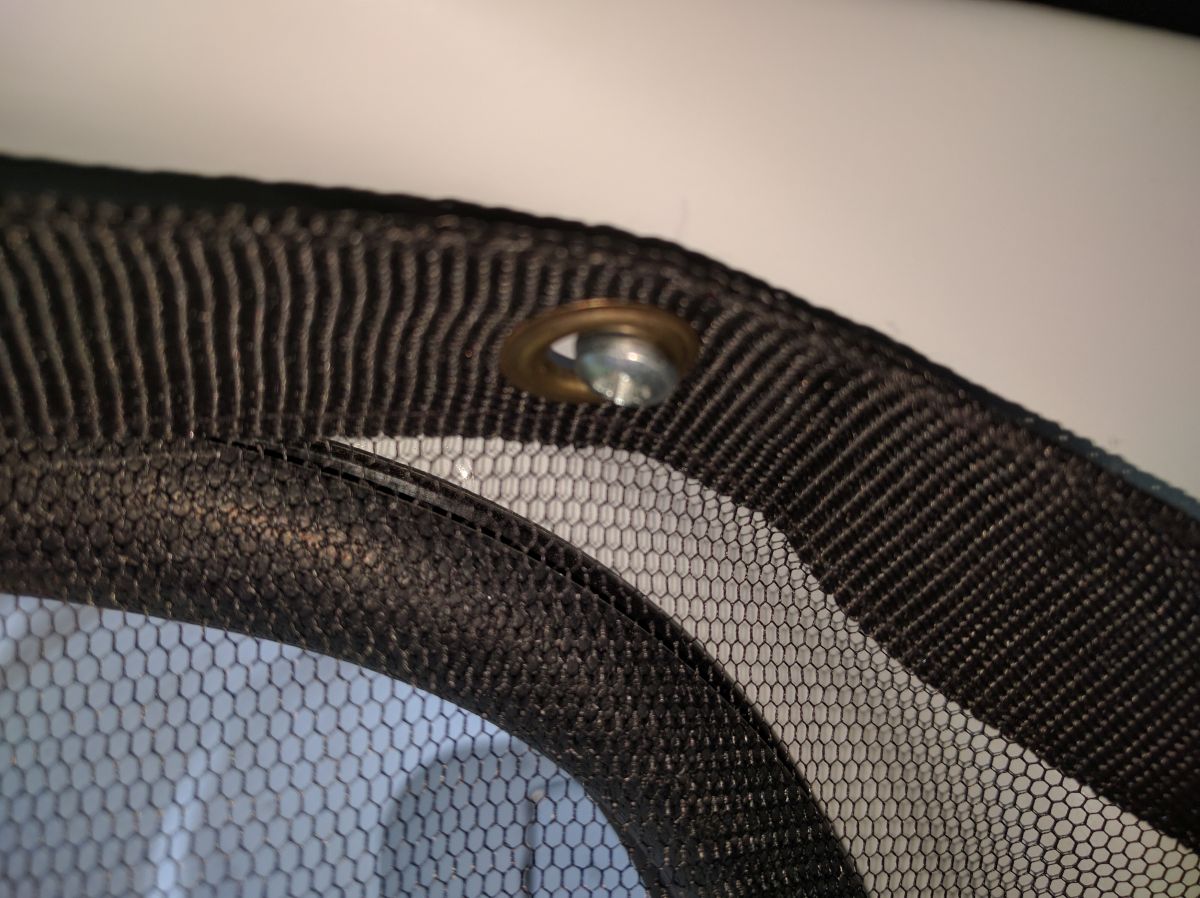
Its a big panel of bug screen with a door seam down the middle that is secured with built in magnets. The top of the panel is a tape that runs the full width and has a few brass grommets in it to secure the top of the screen panel. The bottom of the panel has some pockets to slide aluminum tubes into to hold the bottom of the panel down.
The whole thing costs a whopping sixteen dollars, and while its not super high quality, its OK. Another nice thing is that it folds down into a very compact bundle that is easy to stow.
To use it for the sliding door screen, I installed two screws in frame that runs above the sliding door. They are installed such that the heads stick out about 1/8 inch. The grommets in the top tape hook over these screws to hold the top of the screen. The screws are spaced such that the top tape is under quite a bit of tension when its hooked over the screws. There is a third screw midway between the two end screws just to keep the middle of the tape tight to the door frame.
The screen panel is quite a bit wider than the sliding door. I left about a foot of the excess to the right of the opening and the larger amount to the left.
It takes just a few seconds to shake out the screen and then hook the grommets onto the screws. Then push the excess screening on the two ends around so that there are no gaps. Once the screen is in position, you can get in and out using door opening that is secured with the built in magnets. Once done with the screen it just takes a few seconds to unhook it from the screws and fold it up for storage. We don’t plan to use the alum tubes that are included to weight the bottom end of the screen panel as the panel seems to seal OK at the bottom.

Hi, that type of non contact thermometer is designed to have an optimal reading when both dots align.
Hi,
I think the dots just indicate the area of the temperature measurement
“Dual lasers: The 62 MAX+ has dual rotating lasers to help you identify area to be measured.The measurement area is the spot between the dots.”
Gary
We used Reflectix on the inside of the windows on our Town & Country minivan and it stays in place by tucking it under the rubber seal around the edge of the window. Kept us warm in Yellowstone even when it got down to 32 degrees twice in 6 nights.
Thanks Sue.
Gary
If you’re going to use reflective, you should put it on the OUTSIDE of the windows. All you’re doing is warming up the glass more and potentially melting the seals and the adhesive that holds mirrors to the window.
Hi Jim,
It would be nice to get the reflective shade outside, but its pretty impractical to deploy shades outside each night and they would be subject to winds, rains etc.
If the reflective layer reflects 95% of the incoming light, and the window transmits 80% of the reflected light back outside, then the reflective inside shade 76% of the light coming in the window gets back out to the outside. If you had a regular dark colored shade, nearly all of the incoming solar would be absorbed by the shade and end up adding to the heat inside the van.
Of course, if your windows are highlly tinted, less would be reflected out, but then more would be absorbed by the window on the way in.
So, as a practical matter, the inside reflective shade is still quite effective in reducing heat gain. Not as good as an outside one, but pretty good.
Gary
We did something very similar! For the mosquito net too! Working well..
http://van-derlust.com/the-curtains/
Thanks Veronica – sounds good.
Any chance of getting some pictures?
Gary
I created curtains out of reflective fabric and magnets sticking to the structure inside of the car. I found it to be a great solution instead of glueing velcro to the sides. Works for cars with metal all around the windows at least. 🙂