This section covers our somewhat rough cut at a set of window curtains for our RAM ProMaster based camper van conversion.
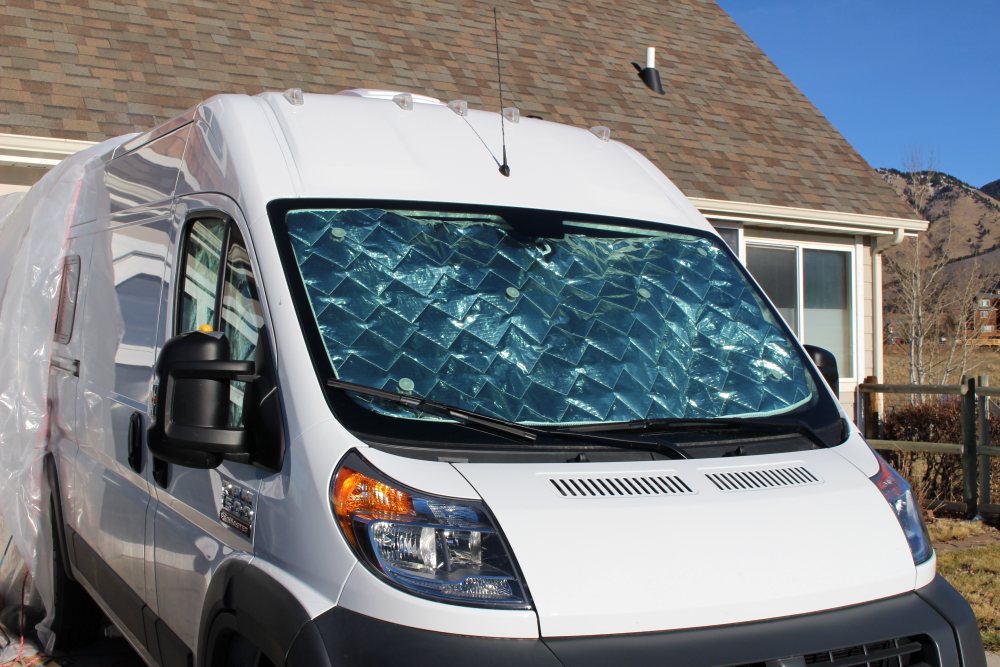
For the cab area, we chose a commercial solution that uses insulating reflective panels cut to the shape of the windshield and the driver and passenger side windows. They are held in place with with suction cups. They go up and down quickly, and don’t take up much stowage room.
For the rest of the windows in the back of the van, we just cut out pieces of Reflectex insulation sheet for each window, and secured it in place with sticky back Velcro. The Reflectix shades in back are intended to be a temporary solution until we can make or have made some fabric shades. But, simple as these Reflectex shades are, they provide privacy and also some useful insulation for cold nights or hot days.
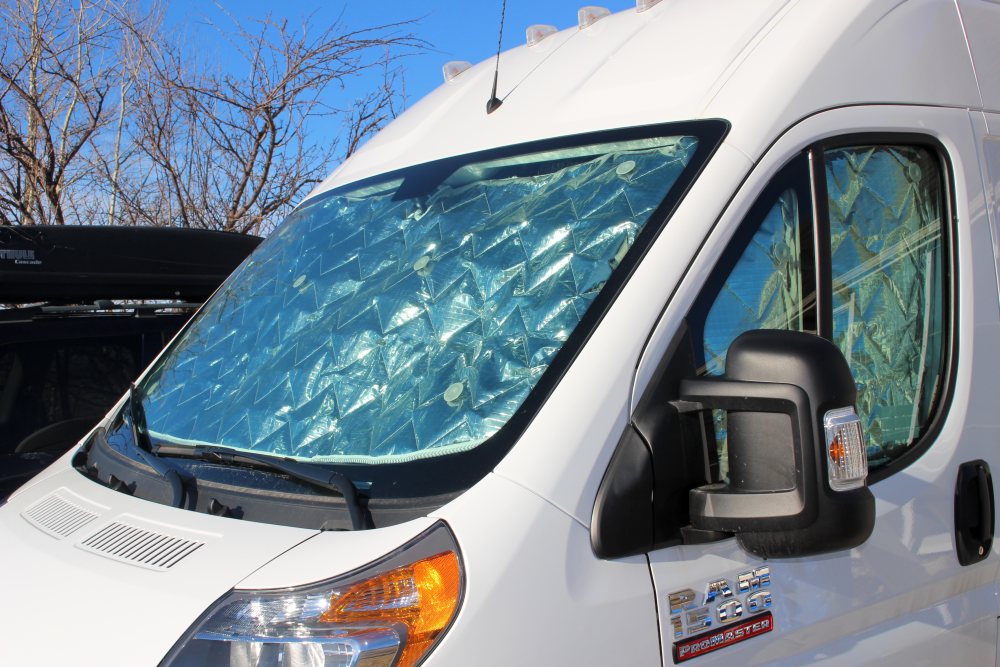
The Eurcamper shades installed in the ProMaster windshield.
Go back to the main camper van conversion page…
Cab Area Shades
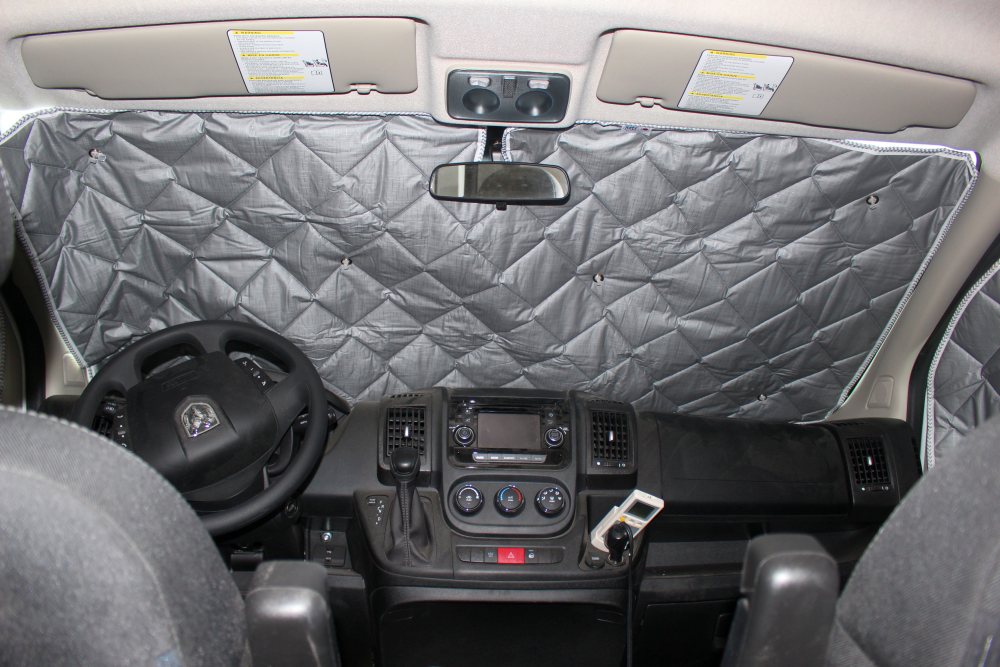
For the cab area we used this commercial product from Eurocampers.com.
The panels are made from an “advanced 7 layer insulating material” that has a reflective finish facing out and a grey color facing in. They are held in place with with a few suction cubs per panel.
We rather like this product. The material appears to be durable and looks like it will last. The panels are cut accurately and are bound around all the edges. The suction cups (which seemed a little Mickey Mouse) actually work well — they are fast to put in place and fast to remove, and they will hold for many days. At $80, they are not cheap, but for us, they seem worth the money.
While we have had very little actual experience with them, it seems like they will provide some very useful insulation for cold nights. The single glazed windows provide only about R1 insulation. I think that with the about 1/4 inch thickness of insulating material and reflective layer, that the shades probably add something like R3 and cut the heat loss through the cab windows by about 75%. They should also be effective in reducing heat gain on hot days — especially with the reflective layer (although a reflective layer outside the window would be more effective).
The shades roll up and store in the cubby above the driver/passenger seats and only use a small part of the cubby space.
A few pictures of the Eurocamper shades
Shades in place viewed from outside.


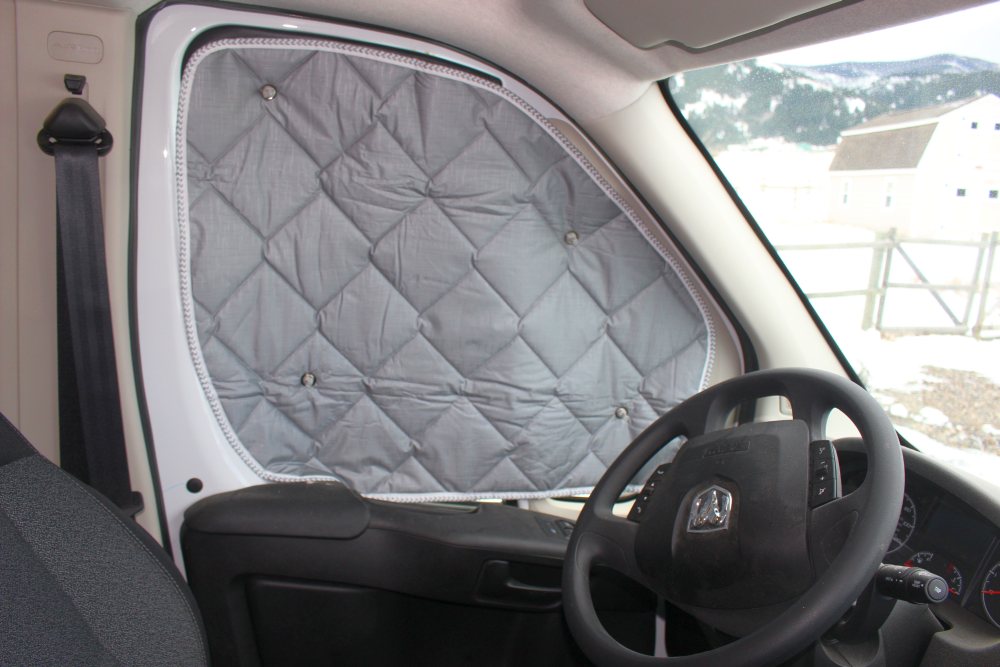
Not much more than a minute to place all three panels.
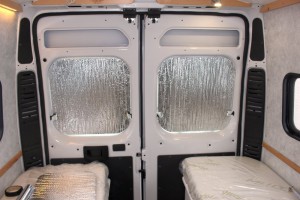
Back Area Curtains
In the back of our van, we have the two factory windows in the back doors plus three windows that we installed on the sides of the van.
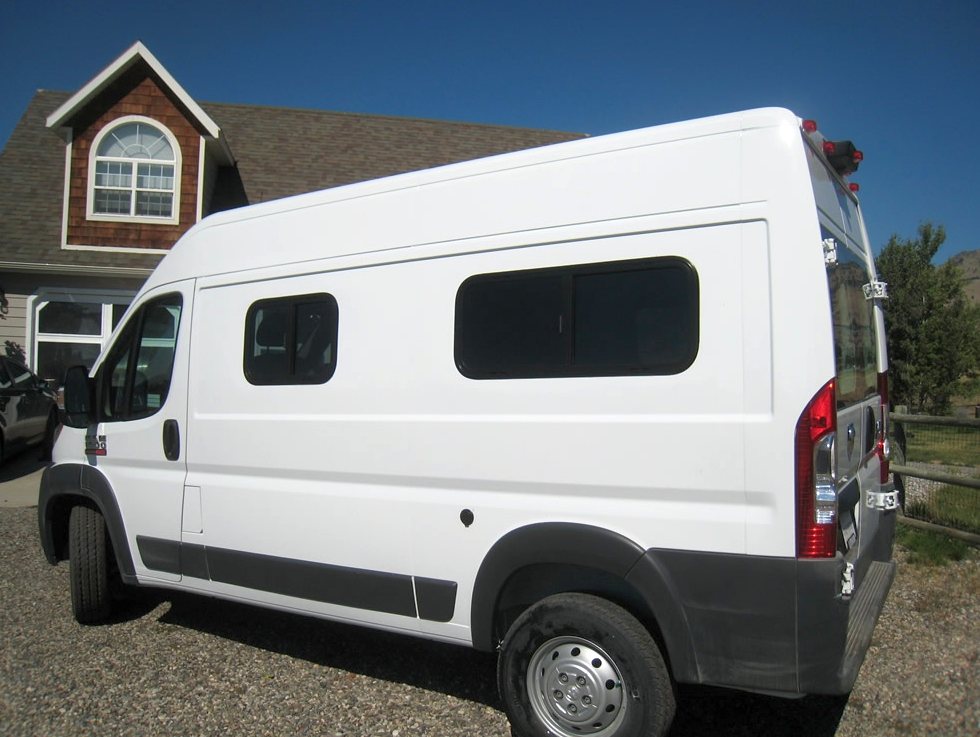
For now, we decided to just use simple panels made from Reflectix that are cut to the size of each window and are held in place with Velcro tabs. In the future we will probably add fabric curtains on tracks, but we wanted to live with the van a bit before making a final decision on the curtains.
The Reflectex panels are fast and simple and they do provide privacy and insulation. We will probably retain them after adding regular fabric curtains just to provide some added insulation on cold nights or hot days, and they take up very little storage space when rolled up.
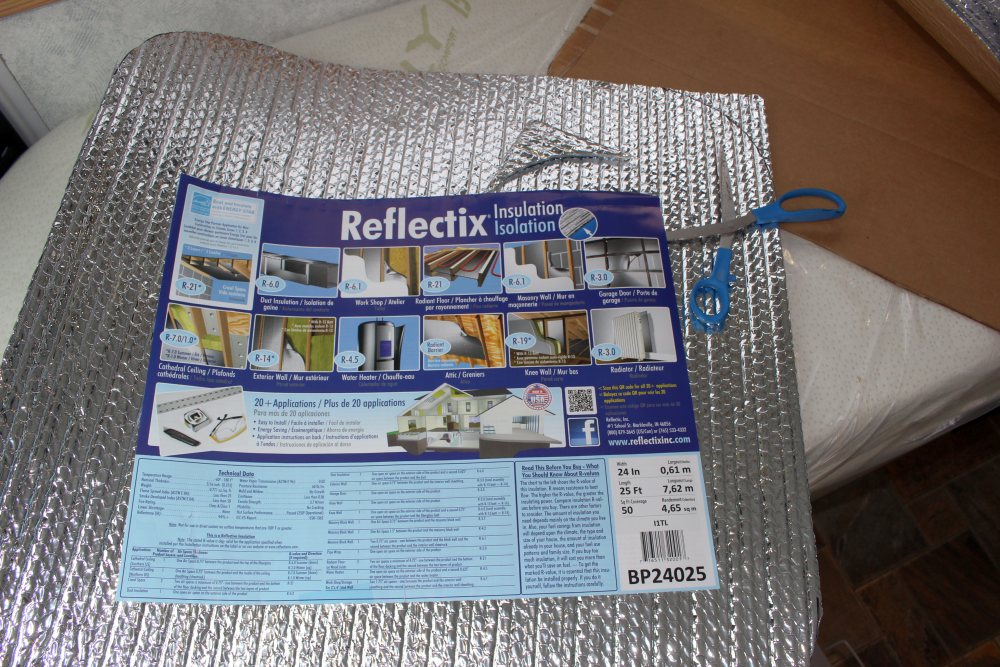
This is the Reflectix — its basically like bubble wrap with face sheets on both sides that are reflectorized. I bought a roll at Lowes that was 2 ft wide by 25 ft long, and used about 10 ft for the shades.
The reflective face sheets provide some additional effective R value as long as they face an air space.
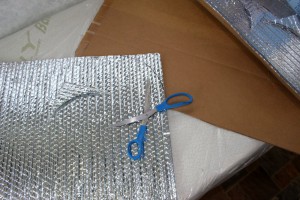
All of the windows are simple rectangles with rounded corners. I just measured the window and cut out rectangles of the Refectix to fit them.. The pieces were cut just large enough to fit in the window frame recess with a bit of a friction fit — that is, the shades will stay in place even without the Velcro tabs.
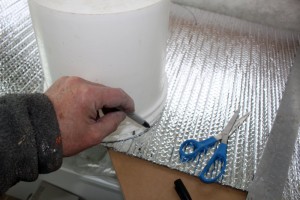
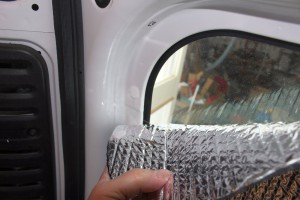
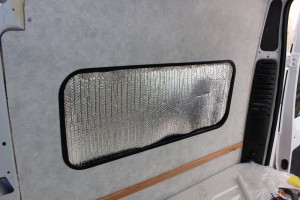
I used a few small Velcro spots to hold the shades in place.
This was all fast and easy.
Performance
I did a rough heat loss test on the two types of shades I used.
Bottom line is that the shades cut heat loss out the windows by a factor or 3 to 4. From about 30 BTU/sqft-F down to 7 to 10 BTU/sqft-F.
Full heat loss test info here…
Cost, Weight and Time
The cab area shades are a commercial product and come ready to use, so, no labor.
Cutting out the Reflectex shades for the side and back door windows and putting in the Velcro tabs took less than two hours.
| Item | Cost ($) | Weight (lb) |
|---|---|---|
| Commercial panels for cab area | $80 | 4 lb? |
| Roll of Reflectex (2′ by 25′ roll with most left over) | $24 | 2 lb? |
| Velcro tabs | $5 | 0 lb |
| Total | $109 | 6 lb? |
Go back to the main camper van conversion page…
Gary
January 5, 2015, June 20 2015
do the cab window covers keep the light out? Darkening shades as well as insulating?
Yes — they are opaque.
Still going strong after 6+ years 🙂
Gary
The curtains have a “rod” of 1/4 inch plywood across the top and the bottom that is inserted in a 3 inch hem. The top rod has four screws that anchor into the wooden window frame around the window. The curtain is held up with two velcro loops. Since the van wall leans in I added velcro along the bottom to hold the curtain tight against the window.
Here is the rolled up photo of the curtains.
I’ve been pondering how to do the curtains in my van for about a year. I initially created window covers from reflectix. It worked, but was difficult to store and kind of a hassle to put up. I liked what another van builder had done with roll down curtains, but I decided to use “moving blankets” for the material. They turned out nicer then I thought and the insulation value should be helpful. Here is a photo.
Hi Dennis,
Very nice!
Can you provide a little more detail on what the shade material is? Where you got it?
Gary
I used some moving blankets from Harbor Freight. In hindsight, I could have used wool blankets for the material. It is better insulation and also fire resistant. Here is one link: https://www.firesupplydepot.com/emergency-wool-blanket…
Here is a better link:
https://www.firesupplydepot.com/emergency-wool-blanket-4lb-gray.html
What a beautiful home on wheels. Good article & an excellent way to articulate. Keep it up.
Great job with the Reflectix and easy to understand instructions.
1) Can Reflectix be sewn?
2) Did you bind the edges?
3) Could a fabric backing be sewn to the inside?
Hi Rhonda,
I think that you could sew the Reflectix. It might be easier to attach a fabric cover to the inside using something like the 3M spray adhesive.
I have seen some pretty fancy shades made with Reflectix as the base. You might try searching on the ProMaster, Sprinter and Transit forums — I’m sure there are some good descriptions there.
If you find some good ones, please let me know and I’ll add links to them on this page.
Gary
How does the side window reflectix attach to the window? Looks like it’s inside the black frame. Isn’t it all glass inside the frame?
For the back windows you said and showed velcro dots but in your reply to Brian you said it was friction fit with small magnets. I’m confused about that.
Hi Tom,
All of the Reflectex shades have patches of velcro on them that mate with Velcro on the window frame.
For the side windows, the Velcro is kind of optional — if you cut the Reflectex carefully it will stay with just the friction with the frames.
Not sure what I was thinking when I said small magnets as its all Velcro. Will see if I can correct that. I do think that small magnets might work better/easier for the back windows than Velcro if you can work out a good way to attach the to the Reflectex.
Have to say after 4 years of using the Reflectex shades that they do work well and are pretty quick to put up and take down, but if I could find a good pull up/pull down commercial shade for the side and back windows I would likely go for that — just for the convenience and look.
Gary
Where did you get your suction cups
Hi Brian,
The suction cups came with the Eurocamper shades that we used in the cab.
The shades in the back are attached with small patches of Velcro. The side windows in the back would likely be OK without the Velcro if the shades are cut carefully to fit in the window frames.
Gary
Eurocamper window shades arrived=NICE.
Now why does the Fiamma curtain between cab and coach cost over 300 ?????
Must be quite a curtain.
Do you have a link for it?
Gary
Yep, still learning off your site on a daily basis.
Just ordered the Eurocamper front window shade per your recommendations and will begin cutting Reflectix soon enough.