A battery monitor will tell you how much of your battery capacity is left at any time. It will also tell you the battery voltage and how much current you are drawing from the battery or charging into the battery.
All this is handy and nice to know, but certainly not necessary. A simple digital volt meter (often built into USB outlets for RVs) will give a fair idea of how much battery is left at essentially zero cost.
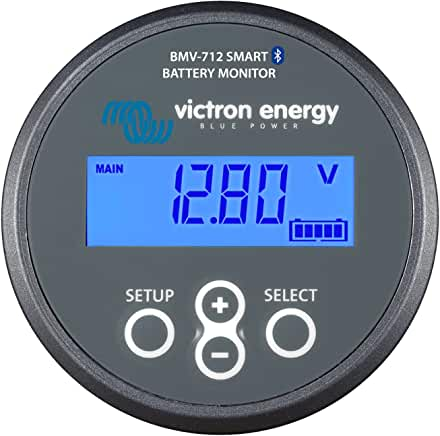
The monitor shown here is a Victron BMV 712 – it comes with a display and can also be read and setup from the Victron BlueTooth application on your phone, and costs about $200. There is also a Bluetooth only version that can only be used from your phone for $130, and a display only version that does not have Bluetooth.
There are also a number of competing brands available with generally lower prices.
Its simple to wire in, but it does require cutting the cable to negative terminal on the house battery and inserting a shunt into the cable. This will require adding lugs to the cut ends of the cable to attach to the shunt terminals. So, if you are having the cables for your system custom made, you want to decide on whether or not you are going to have a monitor before ordering the cables.
The pictures below show how it is wired in.

Wire the shunt into the wire that connects the the BlueSea Safety Hub 150 to the negative terminal of the house battery. The terminals on the shunt are 3/8 inch, so matching 3/8 inch lugs are needed on these cables.
If you are adding this after the initial build, you will need to cut the wire from Hub to house battery and install 3/8 inch lugs on the cut ends. If its the initial build, then just get two cables cut.
The shunt electronics require 12 volt power and it gets it via the small gauge red wire that goes from the shunt to the house battery positive terminal. If hooked up as shown (direct to the battery terminal), then the monitor will be on all the time – the main disconnect switch will not turn it off. If you want it turned off by the main disconnect switch, then connect it to any 12 volt power source downstream of the main disconnect switch.
The shunt has to be installed with the correct end facing the house battery – see the note on the shunt.
If you bought the model with the display, you can mount it anywhere its handy to look at and use. It connects to the shunt with a phone style communication line.
All of the electrical current into and out of the house battery negative terminal must flow through the shunt for it to work. So,don’t have any returns to the house battery negative terminal except for the one from the shunt.
Once the shunt is installed, go through the setup procedure either on the display, or via bluetooth (easier).
If you see any errors or misleading information on this page, or any information that should be added, please let me know in the comments section
Gary 7/30/22